
Pies Galore, amiright?? But who likes orange pi? Well, they’re interesting for one. You can do a bit with them, much like a raspberry pi. They’re also cheaper. But there are some cons about them that might be of concern to you if you’re not a *real* hacker. Or if you just want an easier time, whatever. It’s not necessarily manly to keep banging your head off a desk when something doesn’t work exactly the way you want it to. And let’s face it, if you’re doing this for a business, then you’ll want everything to run as easy and carefree as possible to make sure the darn thing works. Coincidentally, when I say darn in my hear it sounds more like “durn”. That happen to anyone else? Maybe I’m the only idiot who grew up in the country with accents?
Moving on.
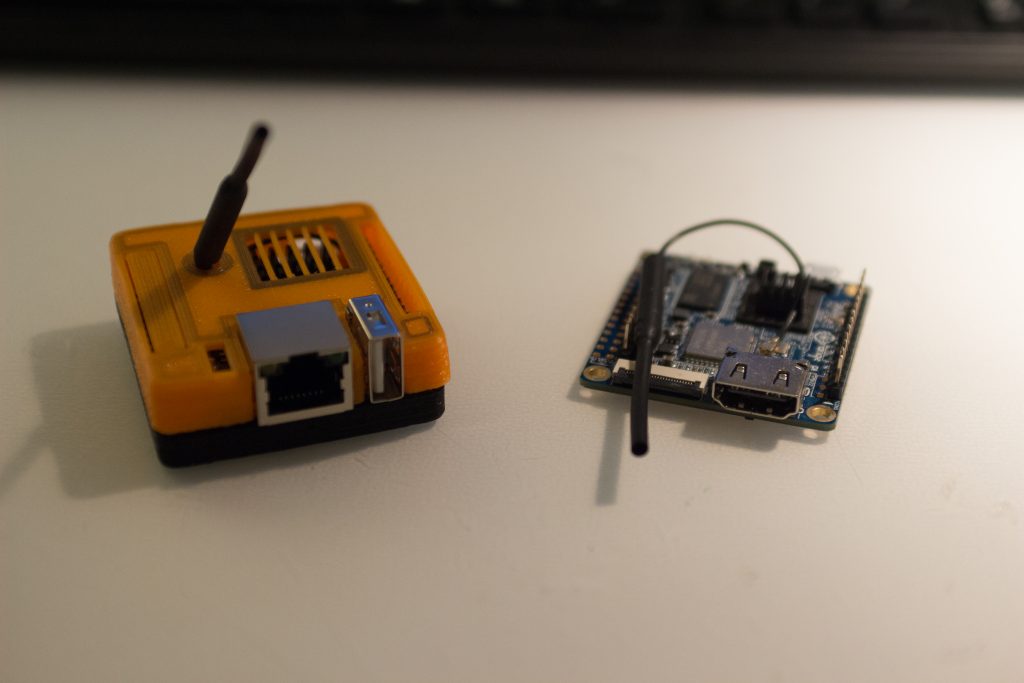
So this is a combo with the raspberry pi build. You can use the same software to make this work. Except, it’s about half the size. Even with the attached camera, it’s small, and you can make the whole thing even smaller if you attach a small screen to it. In this case, however, you’ll either need those hacking skills, or you’ll need something easy. We’ve got the options for both.
Step 1: Install OS
Step 1 is to download the image and install it. You’ll get this from the orangepi site directly. Other builds like armbian don’t necessary have the full image. They actually might be more stable, and work better in other ways, but if you want the full os and display, you’ll need to start here. After you get it installed, you can then move on to the photo booth software install.
Step 2: Options
Easy option is to find a small monitor to connect it to. We like the 7 inch hdmi monitor, which has it’s own driver hardware and you can do whatever you want with it. Most also come with a touch screen option, which the orange pi will read. So now you have a tiny computer, with a tiny screen, and a tiny camera, ready to take some photo booth photos and upload them! Now what? The monitor options also come with touchscreen capabilities, which is a simple usb plug in. That makes it easy to just plug in an go, on any type of computer that you choose.
Step2B. The Hard Way
Ok, so if you want the orangepi to work with other monitors-say a 5 inch monitor, or maybe even a 3 inch one, it’s fully possible. You can easily get the rpi to work with those, and since they’re pretty much the same, you can get the orangepi to as well. Here’s a basic primer and some smaller screen recommendations.
To get the orange pi to work with different monitors, you’ll need to change the display and resolution to match the monitor. It also helps to have the chip and driver so that you can tell what chip is driving the monitor. For example, the illi9411 is a popular 3.5 display, and knowing that, you can easily deduce that you’ll enter the following command to make it work:
Step 3: Cases
That’s right, it’s the fun part of building cases. I personally like the harbor freight case, because it gives a ton of room for multiple things, and can fit the 7 inch monitor easy-peasy. WOW. But that’s kinda chinzy for a photo booth, unless you really need a small case, or you’re just going small. But picture maybe 3-4 at an event, using cheap methods, and you’re starting to see a bigger picture of creativity to make things way more interactive and fun!