
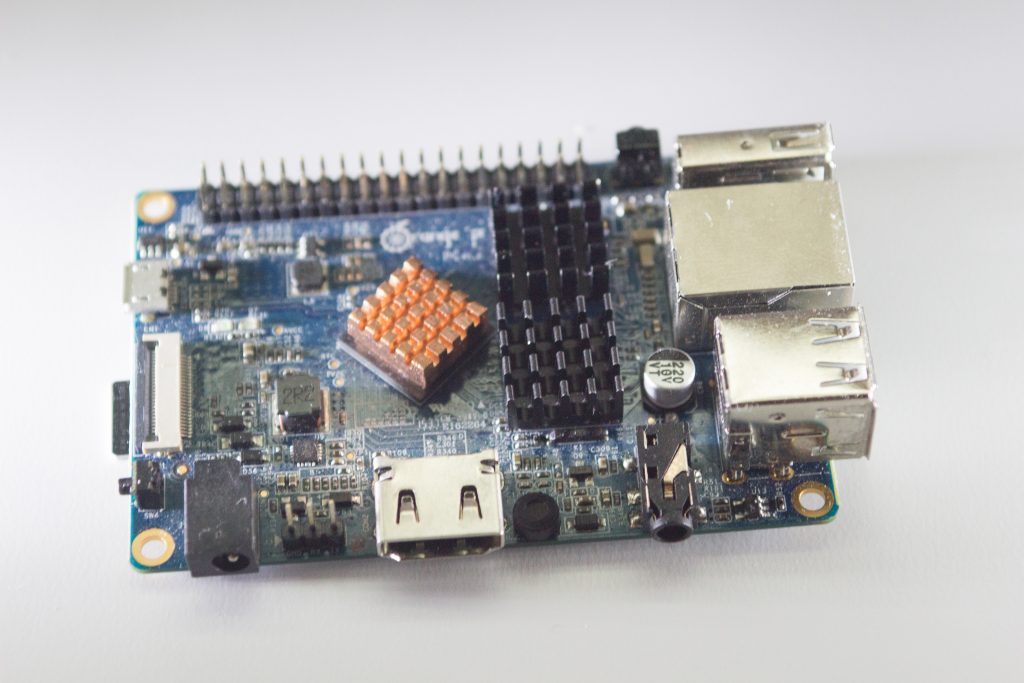
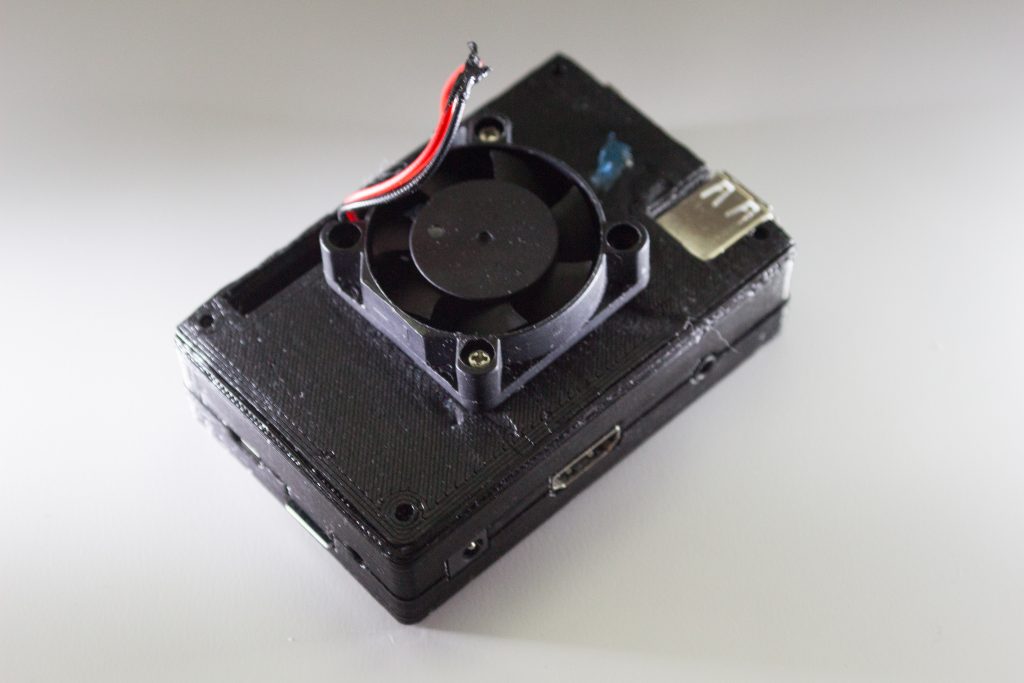
This begins with an Orange Pi PC. There are 2 routes to making this photo booth, the Linux software route or the Android route. Either way, the general process is the same. We 3d printed a case for our orange PI. Depending on your configuration or case, you can print one too, or leave it bare board. Orange PI are very similar to the Raspberry PI, it even has the same type of 40 pin configuration. With the correct software image, you can use Raspberry PI hardware with the Orange Pis, at roughly half the cost or more.
The Orange PI PC comes with an HDMI port, 3 usb ports, an OTG port, a separate power port, and an IR port as well.
Android Route;
Initial Software:
Using the Android image found here: you can make an android device out of the Orange PI PC. This is useful if you want to use the Android software SLR Booth, which we covered earlier. The usb ports on the Orange Pi are extremely handy for this, and you also run it on a separate power supply, so there’s no need for an OTG cable/splitter or any other hacks to get it working.
You’ll need Phoenix card to burn and boot the image. It’s straight forward, except for the part where you want to burn the image as “startup”. This will ensure that the image boots to Android. If you burn the image as a straight image using windir32 or other software this won’t work.
Once you get the image running Android, we recommend putting a fan on the case to keep the processor cool, but it’s snappy and runs the Android version quite well. You can access most software, and aside from a touch screen, which we will cover next, it’s a great little Android device for under 20 bucks.
A note to mention here is that a camera connected to the CSI connector, which is the native connector to the orange pi/raspberry pi won’t work. It won’t show in Android, and until we do some further digging, that will eliminate the simple board/simple camera connection. But again, the SLR Booth works, and that software is connected to a DSLR, which is superior to pretty much any camera you could use through the CSI anyway.
And you can also directly connect the camera, plus a printer to the board, and have a usb flash drive connected as well to make it a powerful low level build that will take a photo and print the photo all in one.
We covered the software and settings in the first Amazon tablet build, and we recommend most of those here. We also recommend that you directly connect a ethernet cable to the unit. Wait, what?
Yea, well the Orange Pi PC has no wifi built in. You can add a wifi dongle, but it’s going to be some work because only specialized wifi works, and in certain ports. I’ll list that real quick but if you want to skip that, then just use the ethernet port to connect to the internet.
OR DON’T!!
Because this board has tons of small ports and cool things, we just say that you can use the whole board and save the photos to the main sd, or to a usb thumb drive.
Linux Route;
Once you get the ubuntu image downloaded, you can simply burn it using windir32. It’s a straightforward burn, and then you’ll have an ubuntu image available. It’s not a bad image, and it runs easily enough on the Orange Pi. From there you can sudo apt-get update and etc to get the image up to date, and then being using the Linux software of choice. This also gives more options in terms of hardware, because you can begin to use some Raspberry PI based screens, provided you have the driver for them. We have a few recommendations, those are featured on the image page, which already have images and drivers pre-loaded to make it easier for you to use.